A complete guide for iPhone 11 Replacement Screens
Are you on the search for a thorough tutorial on replacing the display of your iPhone 11? Then you have landed in the right spot! This blog post has every step that is essential to replace the screen of your iPhone 11. We’ll cover everything from choosing the right iPhone 11 replacement screens to the installation process.
Choosing the right iPhone 11 replacement screen
If you are planning to purchase a new screen for your iPhone 11, it is important to think through the following points before making your selection.
● Compatibility: Make sure the replacement screen is compatible with your iPhone model.
● Quality: Look for a screen with good reviews and a high-quality build. You don’t want to have to replace the screen again in a few months.
● Warranty: Check if the replacement screen comes with a warranty and what it covers.
● OEM or aftermarket: OEM (Original Equipment Manufacturer) screens are made by the same manufacturer that made the original screen for your iPhone, while third-party companies make aftermarket screens. OEM screens may be more expensive, but they are often of higher quality and may come with a longer warranty.
How to replace an iPhone 11 screen in 10 easy steps
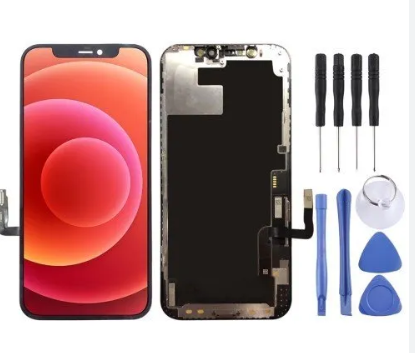
1. Gather your tools: You will need a Pentalobe screwdriver, a suction cup, a spudger, and a replacement screen.
2. Remove two Pentalobe screws on the bottom of your iPhone. These screws hold the screen in place.
3. Use the suction cup to lift the screen gently. Be careful not to pull too hard. The cables connecting the screen to the phone are still attached.
4. Use the spudger to gently pry the screen up from the phone, starting at the bottom edge.
5. Once the screen is partially detached, you will see the cables connecting the screen to the phone. Carefully disconnect these cables by gently prying them up with the spudger.
6. Remove the old screen from the phone.
7. Connect the new screen to the phone by aligning the connectors and gently pressing them into place.
8. Carefully lower the new screen, ensuring it is aligned with the phone’s body.
9. Replace the Pentalobe screws that you removed in step 2.
10. Test the new screen to make sure it is working properly.